The ink is the whole trick
Put a water-based marker on paper and the line dries almost immediately. Put an alcohol marker down and something else happens: the solvent carries pigment into the fibres and stays wet for a few seconds. That short window is the entire reason artists buy these pens. Lay a second colour into a stroke while it is still open and the two do not meet at an edge: they dissolve into each other and produce a gradient no coloured pencil can imitate.
Everything on the alcohol markers shelf runs on the same ink. The three lines in the AnyMark alcohol markers range differ by the tip you hold, not by what comes out of it, which means blending behaves the same whether you picked the chisel line or the brush line.
Paper decides half the outcome
The most common disappointment with alcohol markers is not the markers. It is copy paper. Standard office stock is thin and unsized, so the ink races through it, spreads past the line and turns up on the next page. Marker paper is made dense and smooth so the ink sits in the top layer and moves sideways only when you ask it to.
| Surface | What the ink does | Use it for |
|---|---|---|
| Marker paper (70–100 gsm, smooth) | Stays put, blends cleanly, bleeds through to the sheet below | Everything. Put a scrap sheet underneath. |
| Bristol, smooth | Sits high, blends slowly, forgiving of layers | Detailed work you will go over several times |
| Copy paper | Spreads fast, feathers at the edges, soaks through | Swatching and practice only |
| Sketchbook, textured | Grabs unevenly, gives a mottled fill | Deliberate texture, not flat colour |
Whatever you use, put a spare sheet underneath. Bleed-through is not a defect in the pen; it is what a solvent ink does with a sheet that thin.
Five techniques, in the order worth learning them
1. Work light to dark
Lay the pale colour first across the whole area, then bring the darker one in from the edge while the light one is still wet. Dark into light blends; light into dark mostly just sits there. This single habit fixes more muddy gradients than any other.
2. Keep the stroke moving
A marker parked on paper keeps releasing ink, and the spot it makes will still be visible three layers later. Move at a steady speed and lift at the end of each pass rather than stopping dead.
3. Overlap while wet
The blending window is a few seconds. If the first colour has dried, the second one lands as a hard edge. When an area is bigger than that window, work it in bands and always start the new band inside the still-wet edge of the last one.
4. Use the blender as a tool, not a rescue
The brush and chisel sets ship with a colourless blender, and that is the "+1" in 60+1. It pushes pigment outward and softens an edge that has already set. It will not lift a colour you regret, so treat it as a feathering tool rather than an eraser.
5. Layer instead of pressing
Colour gets deeper through repeated passes, not through force. Pressing a nib harder floods the paper and frays the tip. Two light passes beat one heavy one every time.
Which tip for which job
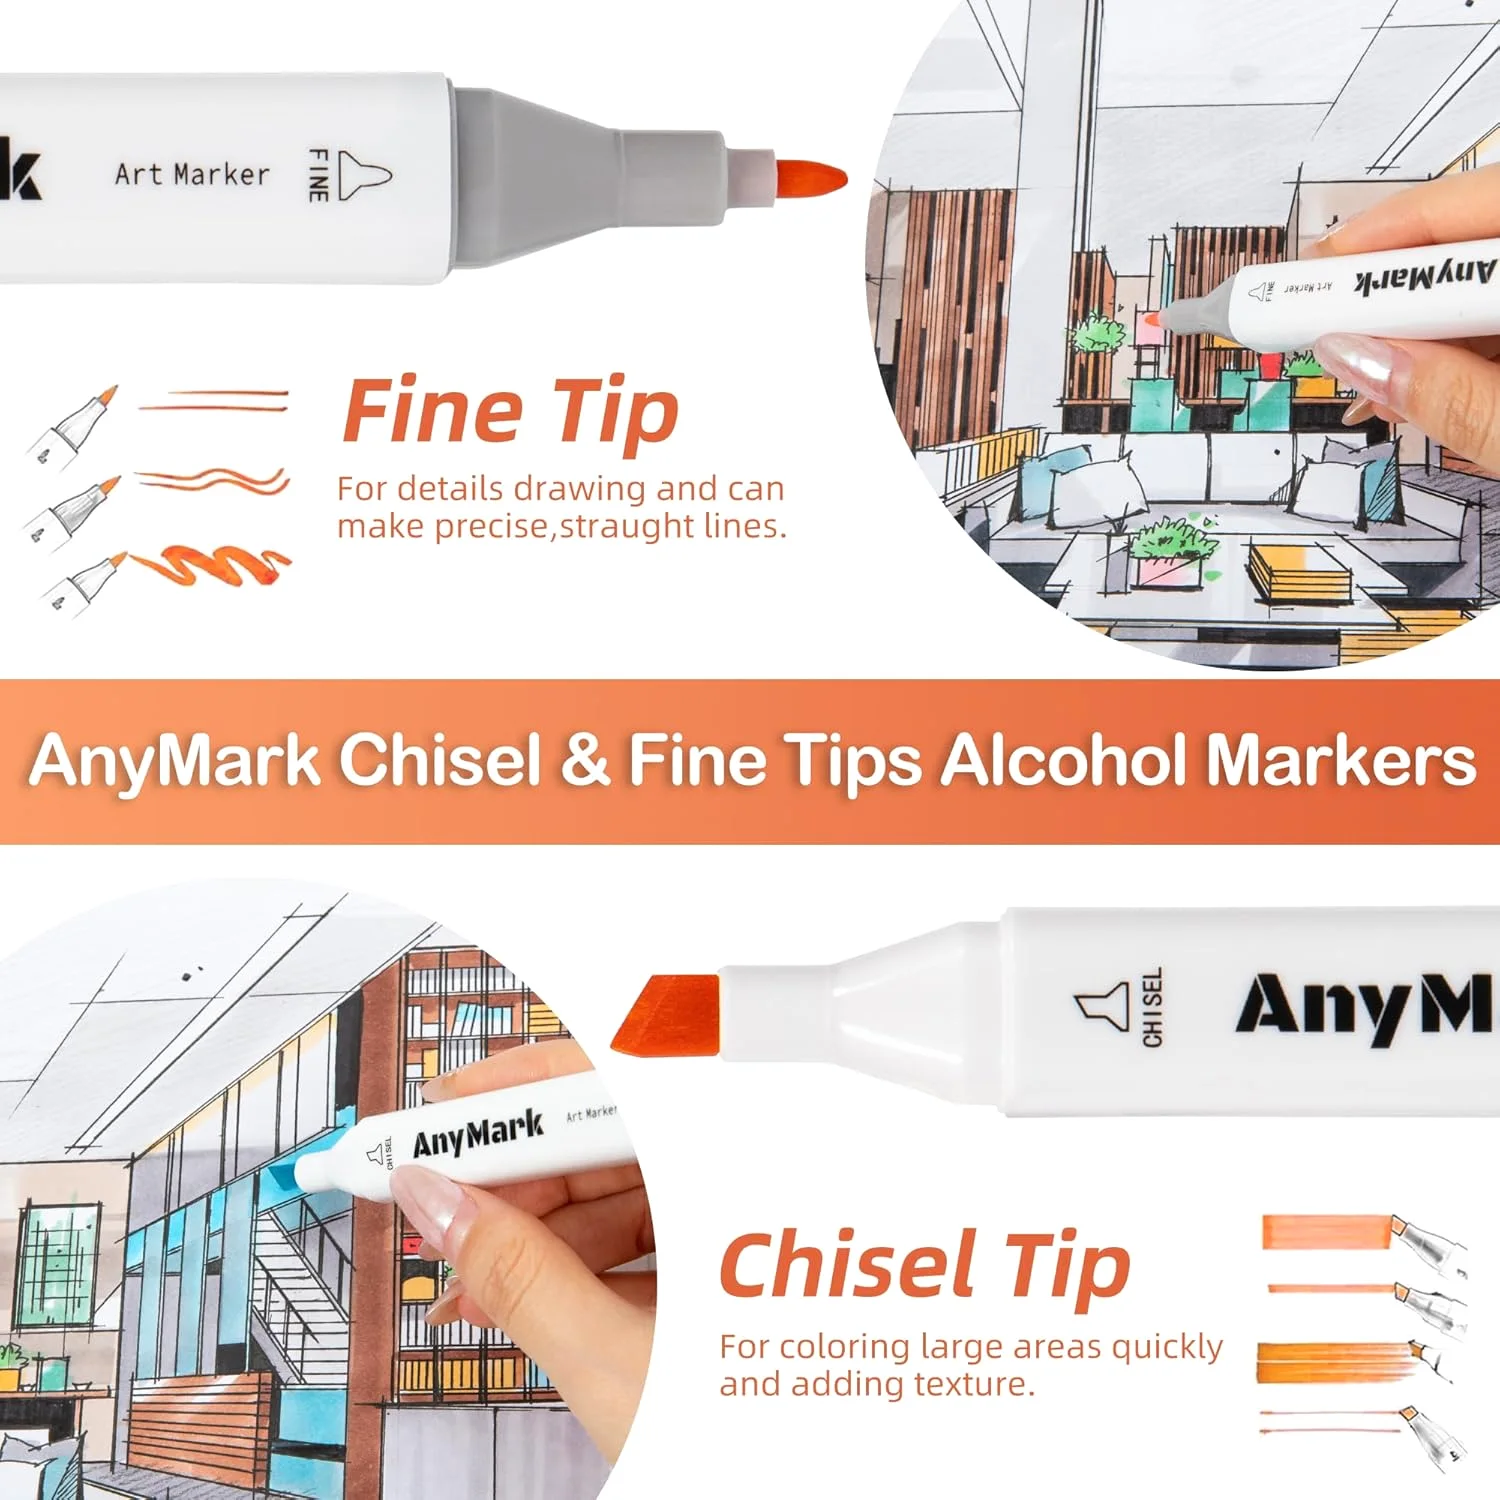
All three lines carry two tips per pen, and choosing between them is mostly about the size of what you are filling.
| Line | Tips | Strongest at |
|---|---|---|
| Chisel & Fine | Broad chisel + fine bullet | Flat fills, straight-edged shapes, lettering, technical work |
| Brush & Chisel | Flexible brush + chisel | Pressure-varied strokes, hair, fabric, botanical work |
| Art Coloring | Chisel + fine, black barrel | The same work as the chisel line, in a barrel that hides ink marks |
The brush tip is the one worth trying if you have only used chisels. It varies from a hairline to a broad sweep with pressure alone, which removes most of the pen-swapping from a drawing.
Care that actually extends the life of a set
- Cap them hard. Alcohol evaporates. A cap that is on but not clicked is the most common way a marker dies young.
- Store flat. Standing a marker upright pools ink at one end and starves the other tip.
- Clean the tip on scrap. Colour picked up from a dark area comes off on a spare sheet in two strokes.
- Do not press to revive. A pale marker is usually a dry marker, and pressure only splays the nib.
Where to start if the set is your first
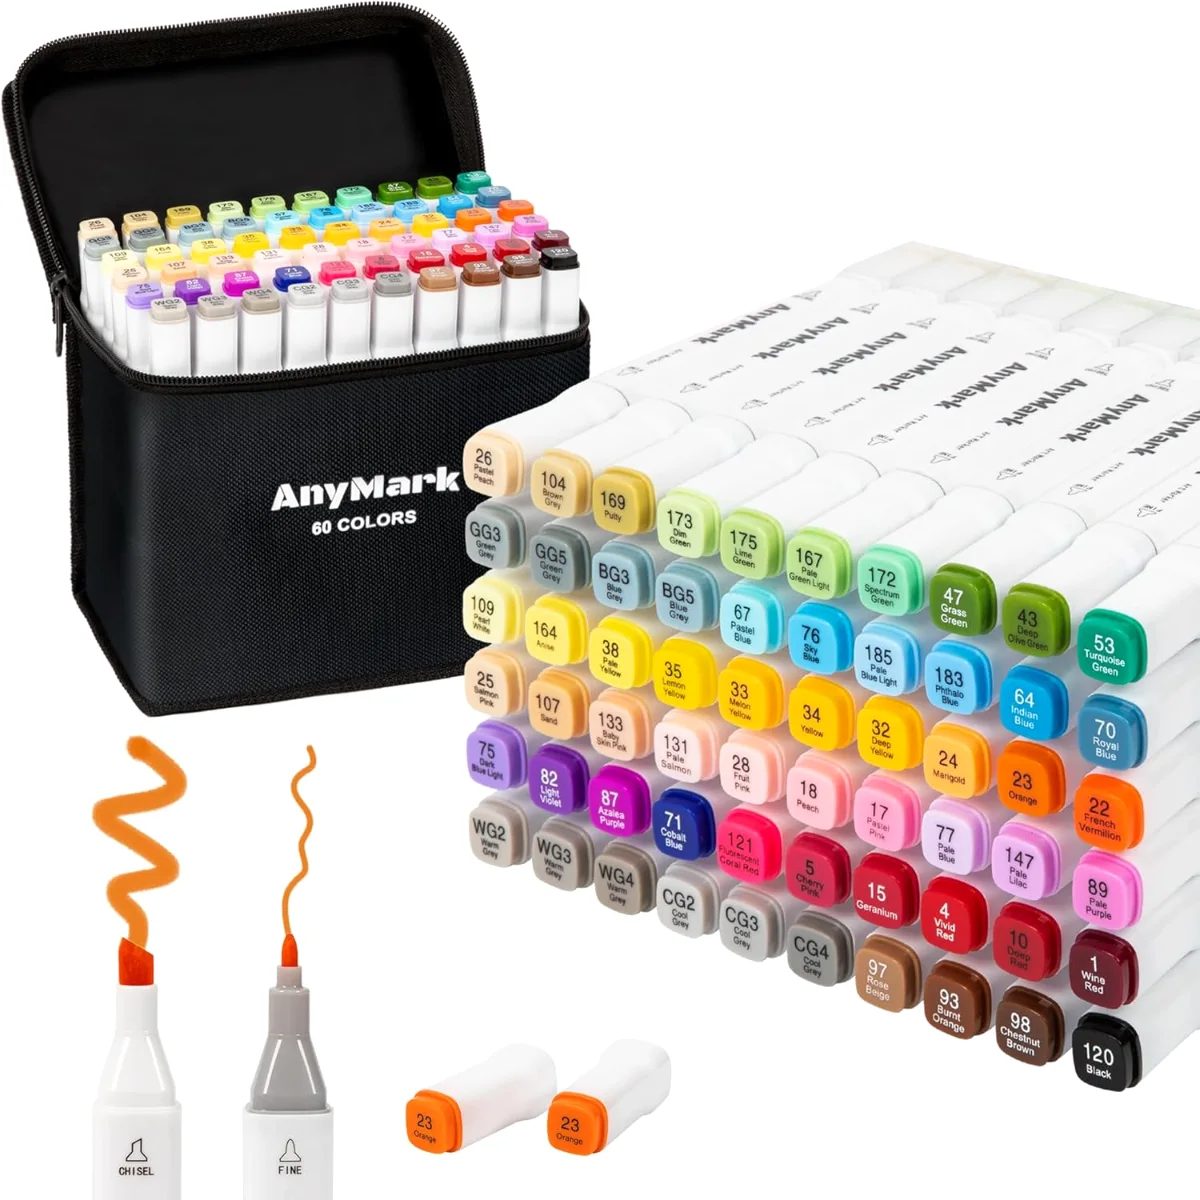
A 48 or 60 colour set covers a full drawing without gaps and is the size most people never outgrow. Larger ladders of 80, 100, 120 and 168 add the in-between values that make skin, sky and metal read properly, which matters more the more realistic your work gets. Every set in the range is the same ink, so moving up later adds colours without changing how anything behaves.
If your work is heading for objects instead of paper, the acrylic paint pens are the other half of the toolkit, and the surfaces guide covers where they beat ink outright. The whole AnyMark catalogue is built around that split: ink for paper, acrylic for everything else.
Sources opened and read on 2026-08-07: Art & Creative Materials Institute, Governing Regulations; American Academy of Pediatrics, Choosing Safe Art & Craft Supplies for Children (HealthyChildren.org).